Pages


Friday, November 9, 2012

11/9/12


I'm sure you've all seen plenty of crayon art done on canvas.It looks really fun, colorful, and abstract. I decided to try this on a smaller, more budget friendly scale; a pumpkin.
I had a pumpkin that I had previously painted on, and a couple of small white ones. Here's what to do:

   Cover your work place with a trash bag and make sure everything won't blow way-like crayon wrappers. You'll need tacky glue, used/new crayons, and a blow dryer.
Glue crayons very close to the stem and leave a couple minutes to dry. (I cut each crayon in half and put them next to each other, but this was a small-ish pumpkin. For normal pumpkins, I suggest just using normal sized crayons. Miniature pumpkins will of course need smaller portions).
On high, start blowing one section at a time. Just wait...pretty soon you'll see bright lines of melted crayon running down the pumpkin, or some will decide to pool on top. Either way it will look amazing.
(Sorry for bad picture) Final product! I hope y'all are having a great time enjoying fall like I am, even 80 degrees is a gift around here in Texas:)

-Savannah

Saturday, October 13, 2012

10/13/12

You're charger needs an update. It needs to be personalized and not just that plain boxy white charger everyone has....
                       .......
               You need a glittery contraption that will not only bring energy to your phone, but to bedazzle your life and make sure everyone knows it's yours. Okay, that's a bit of an exaggeration, but I do have a nice way to add a bit of an update to your phone charger =)

First, pull the cord out and lay this part on a flat surface.
Get any anil polish that you like best and paint it! It's best if you use something sparkly or at least some sort of sparkle on top, or else it will look more painted on.
While the object above dries, move on to the smaller parts.
Make sure you don't paint on the cord or the silver parts inserted into your phone/computer.
 
After you've touched up the paint, give it a nice clear coat.
What do you think?

10/13/12

I've been feeling like painting with nail polish lately. Change something up, you know? I'm getting better at painting my fingernails, but I have trouble with pedicures.  I decided to make a tutorial on an amateur pedicure that looks like its from someone much higher up there (hopefully!)
STEP ONE
Trim, smooth, and paint your nails. Don't worry if you
go outside the lines, that is what the next step is for. Just make sure you get a smooth foundation.

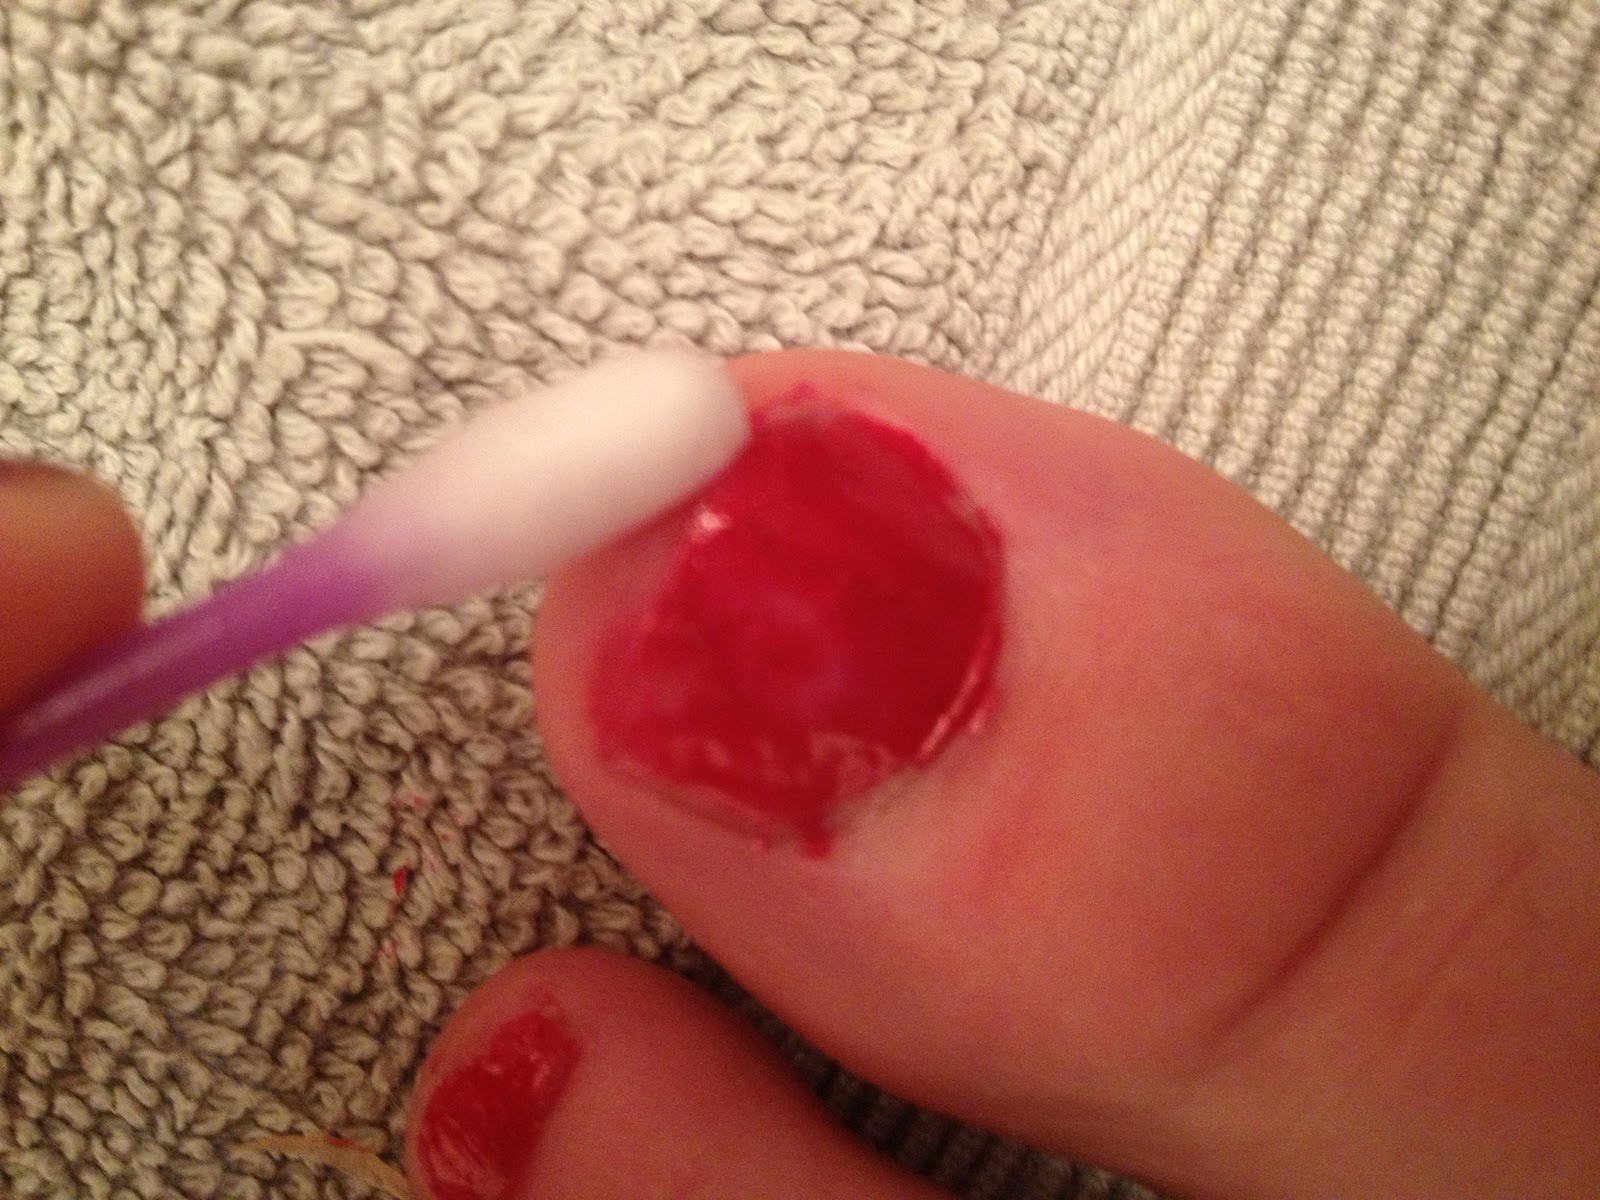
(sorry for bad  picture) using a remover soaked q-tip, touch up your nail. (Horrible nails for emaphsis)
Better! But still not what we're going for....
So we repeat. By using this process, you get a smooth look where as if you merely focusing on staying inside the lines would result in a thin, rather bumpy pedicure. (Tip-don't make it too thick or it will rub off)
Use a sparkly polish on top of that (I do realize some of it is on my toe, while taking a picture it kinda got mashed on it). The sparkle looks great and proffessional while hiding some of the minor mistakes (uneven base, etc) Add touch ups until nice and sparkly, then put a clear coat on top.

Done!

Saturday, September 22, 2012

Transition to Fall

Transition to Fall

Long sleeve purple dress
$24 - houseoffraser.co.uk

Wet seal boots
wetseal.com

Proenza schouler bag
openingceremony.us

Stone earrings
pretaportobello.com

9/22/12

 School has started. Sports and homework pile up unforgiving. You barely can handle  for the annual responsibilities and keeping your head above the water, no time for doing things that you enjoy,right? Much less time for more extra people, right? There is time in the day, it just might be at odd intervals. If you make something for someone else, it will make their day, and you'll feel incredible yourself. There's no excuse for waking up a little earlier and making a thoughtful gift when you have a little free time. So whoever you're you plan on making something for, I have a few ideas that are dirt cheap and mostly can be made quickly (or slowly accumulated over periods of time.)


                                          Who doesn't need a planner at the beginnning of a school year? Especially one this cute? Credit and instruction here.


What better way to bring happiness? It's all compitable in a nice little box, so you can send it to someone who lives farway. Seriously, just looking at it makes you kinda happy.
Credit here.


Pinned Image
These are made from strips of ribbon, lace, velvet, and odd pieces of jewelry. It's so cute and useful. This website also includes  24 other homeade gifts you can make. Credit here.

IMG_4035.cakeinjar

Cake in a jar-easy, single serve cups of cake. The possibilities are endless, and it's not as cliche as a plate of cookies (which are still delectible, just not as original). Credit here.

Hot chocolate truffle balls. Drop into a mug of warm milk and it turns into delicous hot chocloate. Great to bag up and put in a mug as a gift for when it cools down! Credit here


I hope these five random gifts help you think of a gift idea for someone that often gets overlooked (parents, grandparents, teachers, neighbors).

                                                                                           Happy gifting!
                                                                                            Savannah

Friday, August 10, 2012

8/10/12

Hi guys!


     The other day, I went into my sister's room and randomly saw Woody & Jessie. When I was little, I took them everywhere.  Not kidding! I would play with them before the food came to our table at restaurants, when my cousins came over, and just because I could.


    Needless to say, they got pretty worn out. And now, years later, they are still working when you pull the string and no body parts are missing! (Bullseye isn't so lucky, :). However, grime from years of play kinda got to them. So, as I looked over their dirty body, I decided that I would do a simple little thing to clean their plastic parts, like the face. It's real easy and, most importantly, it works.


I couldn't focus on all the yuck, but you can see some of the dirt. (Before picture)


Here's what I did for my two ingredient, two step secret cleaning formula ~*~
 STEP ONE Mix baking soda and water in a bowl, until you get a gritty paste.


STEP TWO With an old toothbrush, gently scrub a thing layer of the paste onto their face. Scrub for about ten seconds, then with a wet rag wipe the paste off. (You may need a Q-tip to get it from under their eyes and noses).


(after picture)


That's all. Really!  It's so easy to do, and easy to clean up. Did I mention inexpensive? These dolls are at over  ten years old too, and you can't tell at all. Did I just hear someone gasp? ;) good luck!


Savannah