I've been feeling like painting with nail polish lately. Change something up, you know? I'm getting better at painting my fingernails, but I have trouble with pedicures. I decided to make a tutorial on an amateur pedicure that looks like its from someone much higher up there (hopefully!)

STEP ONE
Trim, smooth, and paint your nails. Don't worry if you
go outside the lines, that is what the next step is for. Just make sure you get a smooth foundation.
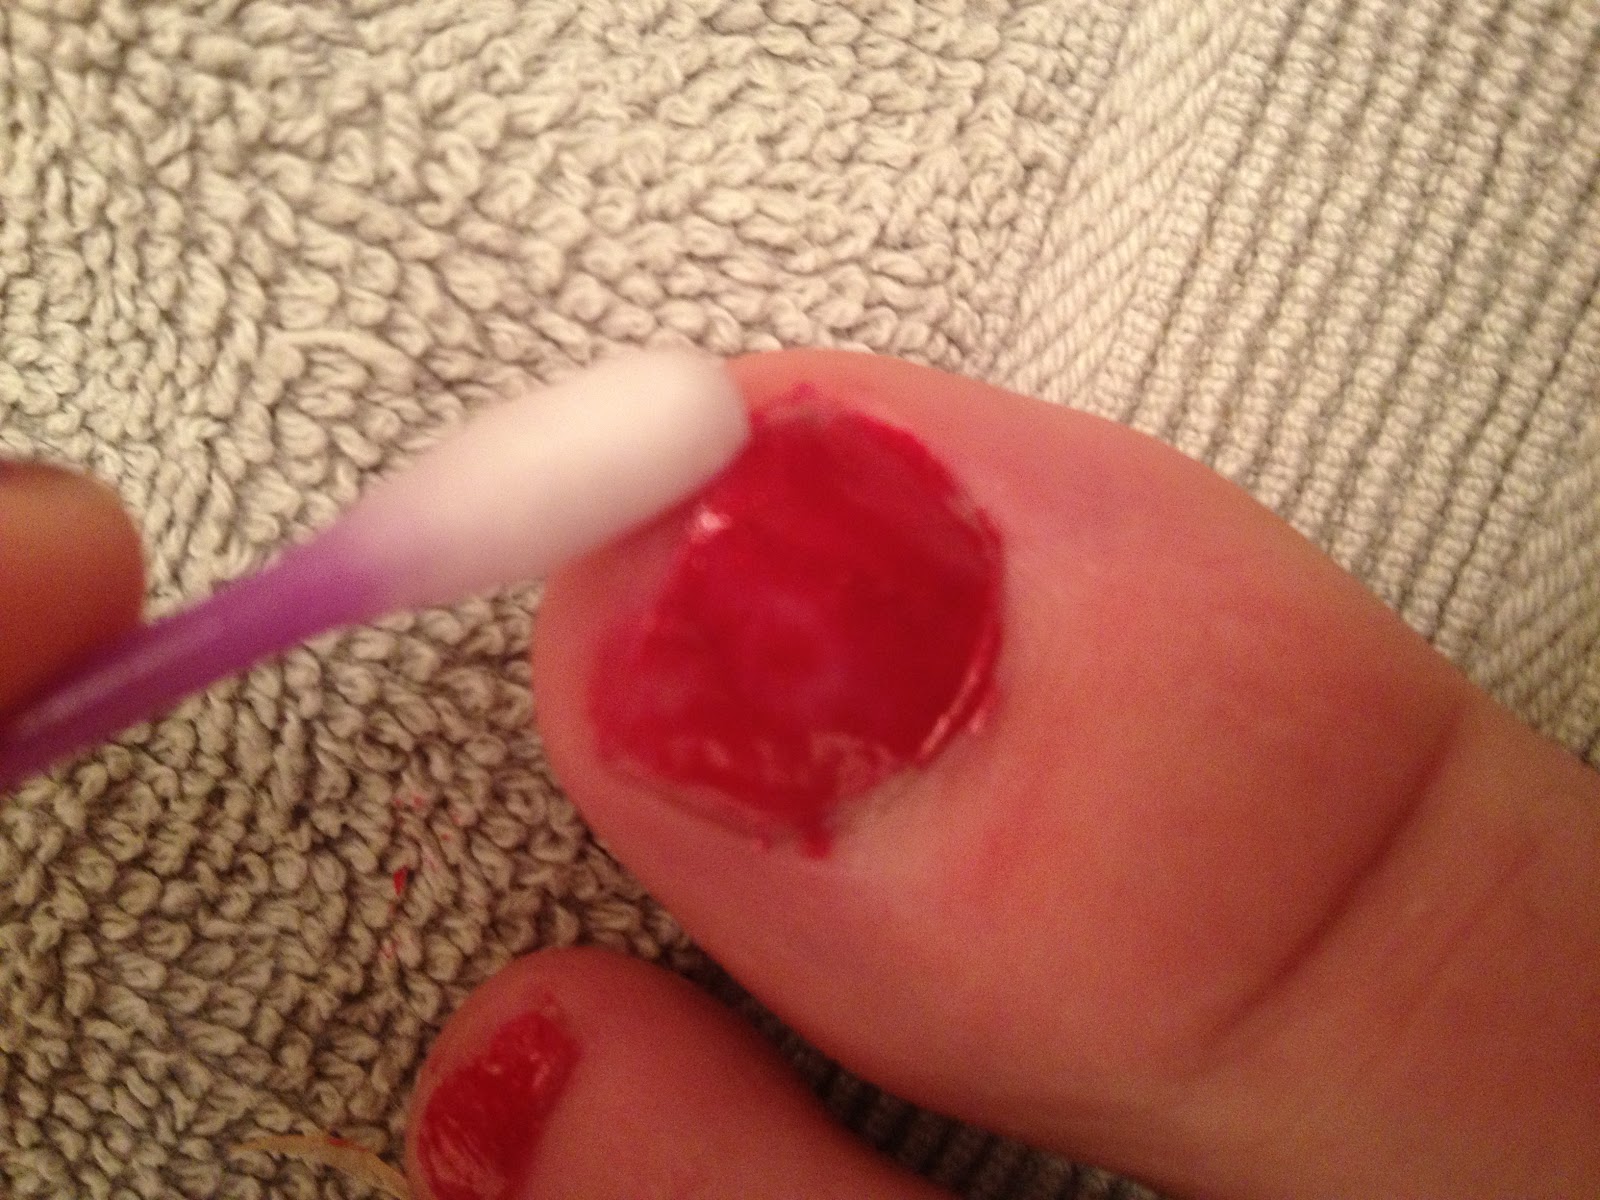
(sorry for bad picture) using a remover soaked q-tip, touch up your nail. (Horrible nails for emaphsis)
Better! But still not what we're going for....
So we repeat. By using this process, you get a smooth look where as if you merely focusing on staying inside the lines would result in a thin, rather bumpy pedicure. (Tip-don't make it too thick or it will rub off)
Use a sparkly polish on top of that (I do realize some of it is on my toe, while taking a picture it kinda got mashed on it). The sparkle looks great and proffessional while hiding some of the minor mistakes (uneven base, etc) Add touch ups until nice and sparkly, then put a clear coat on top.
Done!


 It looks really fun, colorful, and abstract. I decided to try this on a smaller, more budget friendly scale; a pumpkin.

 On high, start blowing one section at a time. Just wait...pretty soon you'll see bright lines of melted crayon running down the pumpkin, or some will decide to pool on top. Either way it will look amazing.


 STEP ONE